



Create email signature in Outlook 2019
Creating email signatures in Outlook 2019 is easy. The only inconvenience you may encounter is that the Outlook’s signature editor has rather basic set of formatting tools. To set up email signature in Outlook 2019, simply follow these steps:
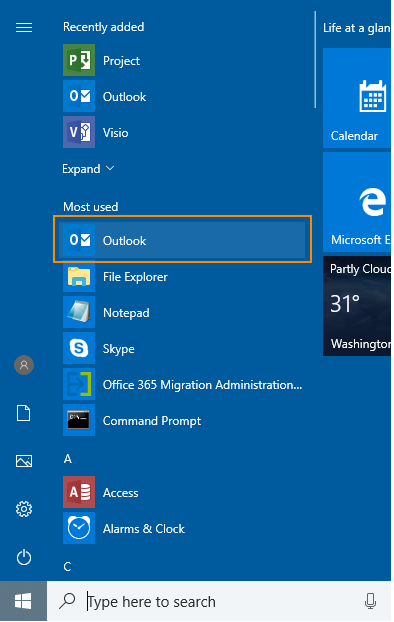
- Open Microsoft Outlook 2019 from the Start menu or from the taskbar.
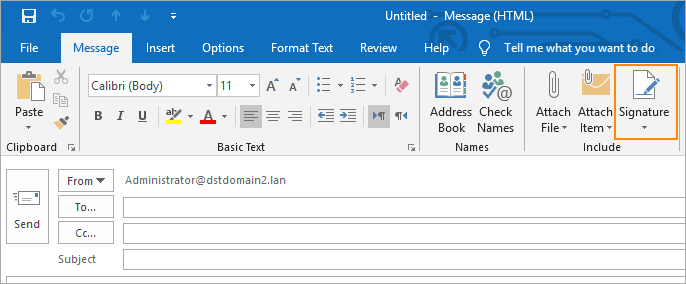
- In Outlook, click New Email or use the Ctrl + N keyboard shortcut to open a new message window.
- Then, go to Signature (in the Include group) > Signatures.
 Note: Another way to start configuring email signature options in Outlook 2019 is to go to File (on the ribbon) > Options. Next, in the Outlook Options window, select the Mail tab and click the Signatures button.
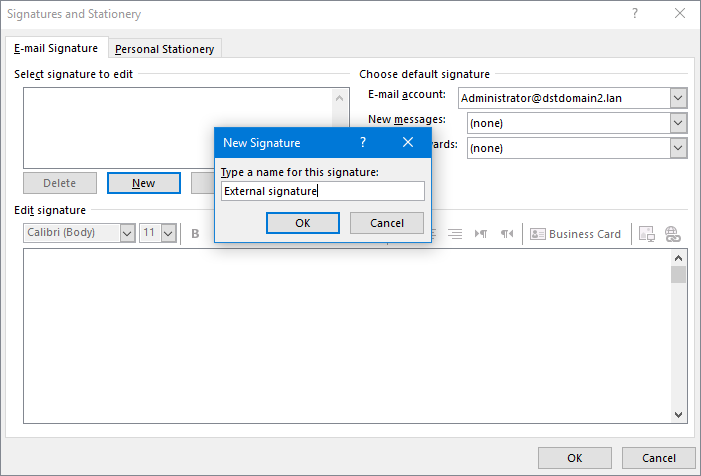
 - In the Signatures and Stationery window, click New to create your Outlook signature. Type a name for your signature.

- In the Edit signature section, create your signature block. Use available formatting tools.
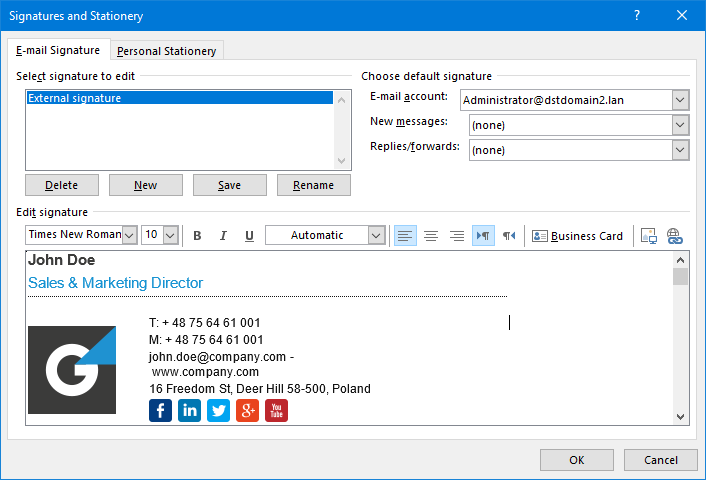
 Note: Outlook editor offers rather basic formatting tools. If you are not satisfied with the effects they provide, you can use free email signature generator to generate a ready-to-use signature template. After adjusting the template to your needs, simply copy/paste it to Outlook editor.
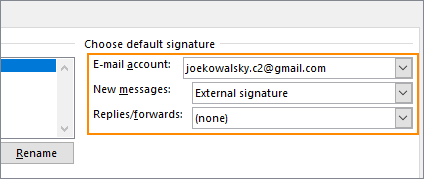
 - In the Choose default signature section, specify which email account should get the signature (applies if you use more than one email account), and whether add it to new messages and/or replies/forwards. If all settings are ready, save changes by clicking OK.

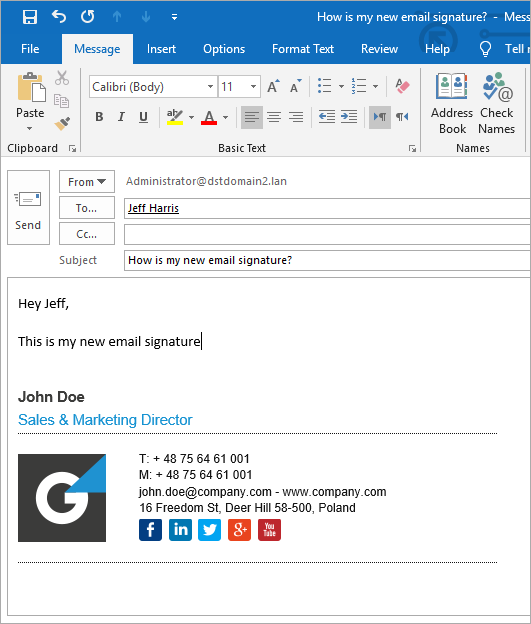
- To check if the signature works correctly, open a new email message. The signature should already be there.
 Note: If you didn’t select your signature as a default one, then you need to add it manually every time you write a new message. You can add your signature from the Signature button in the Message ribbon.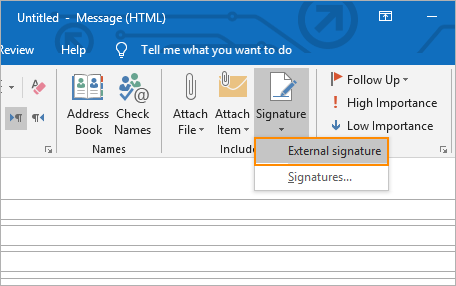
 That’s it. If you want to create another signature for other recipients, simply follow this guide again. You can create as many Outlook 2019 signatures as you need, which then you can select from the Signature button in the new message window.
Outlook 2019 signature manager
Companies, no matter if big or small, want to have email signatures in their business email communications. But, managing Outlook signatures – so that they always stay up-to-date, unified and correctly branded – is fairy difficult without a dedicated signature management tool. Such a tool works centrally and helps the admin (or other person) control user signatures globally. When you need a solution for managing Outlook 2019 signatures, you have two options to choose from – client-side or server-side software.
A client-side solution for Outlook 2019 requires installation of agents or addins on each workstation. They are responsible for inserting and updating user signatures when necessary. This client-side solution is perfect if you want to give your users more flexibility and control over email signatures they can use.
Check out how to manage signatures on the client’s side in CodeTwo Email Signatures 365
A server-side solution for email signatures is especially useful if you want to add signatures to emails sent from any device. Server-side email signatures are added after an email is sent.
Take a look at email signature management tools below:
- CodeTwo Email Signatures 365 (supports server-side and client-side signatures)
- CodeTwo Email Signatures On-prem (server-side solution)
See also:



Hello Catherine,
This morning i was trying to figure out how can I change my outlook signature into something more professional looking. Following your steps was very helpful and i am glad that changed it within no time.
Thanks a bunch!
Safeer
Thank you for a very clear and well written article.
This description isn’t for Outlook 2019, which has a different UI. Please retitle it correctly.
Hi Paul,
That’s exactly how my Outlook 2019 looked like at the time when the article came to life. I’ve just checked and it still looks the more-or-less the same. What are the differences that you can see?
A person’s success does not depend on his wisdom, but perseverance
Hi,
How will I make my outlook 2019 to have signature when replying and forwarding?
Hi Brian,
Take a look at step 6 – you can use the dropdown at the bottom to pick the email signature you want for replies and forwards.
the option for email signature creation is not working plz support me
Hi Amin,
How exactly the option is not working? Is it greyed out in Outlook options? If so, this article should help. If not, I need more information to be able to help you.
Thanks for your supporting sir
I’m very happy with your information
After upgrading a user to a Windows 10 machine with Outlook 2019 and copying the signature folder from the old machine (Windows 7 with Outlook 2016) to the new one, the signatures are not available. How do you add the signatures from the previous version of Outlook?
Hello Catherine,
The method you are using should work. Make sure you are using the right email signature location (should be C:\Users\*your profile name*\AppData\Roaming\Microsoft\Signatures) and that each signature has three different files (name.htm, name.rtf, name.txt + folder name_files). Another method is to open the HTML files from your old signatures folder in a browser, copy their content to clipboard, paste into the Outlook’s signature editor and save. The rtf and txt files will generate automatically.